[ultimatemember_restrict role=”tutorial_customer” message=”You must be an approved customer to view this tutorial. Please log in or register.”]
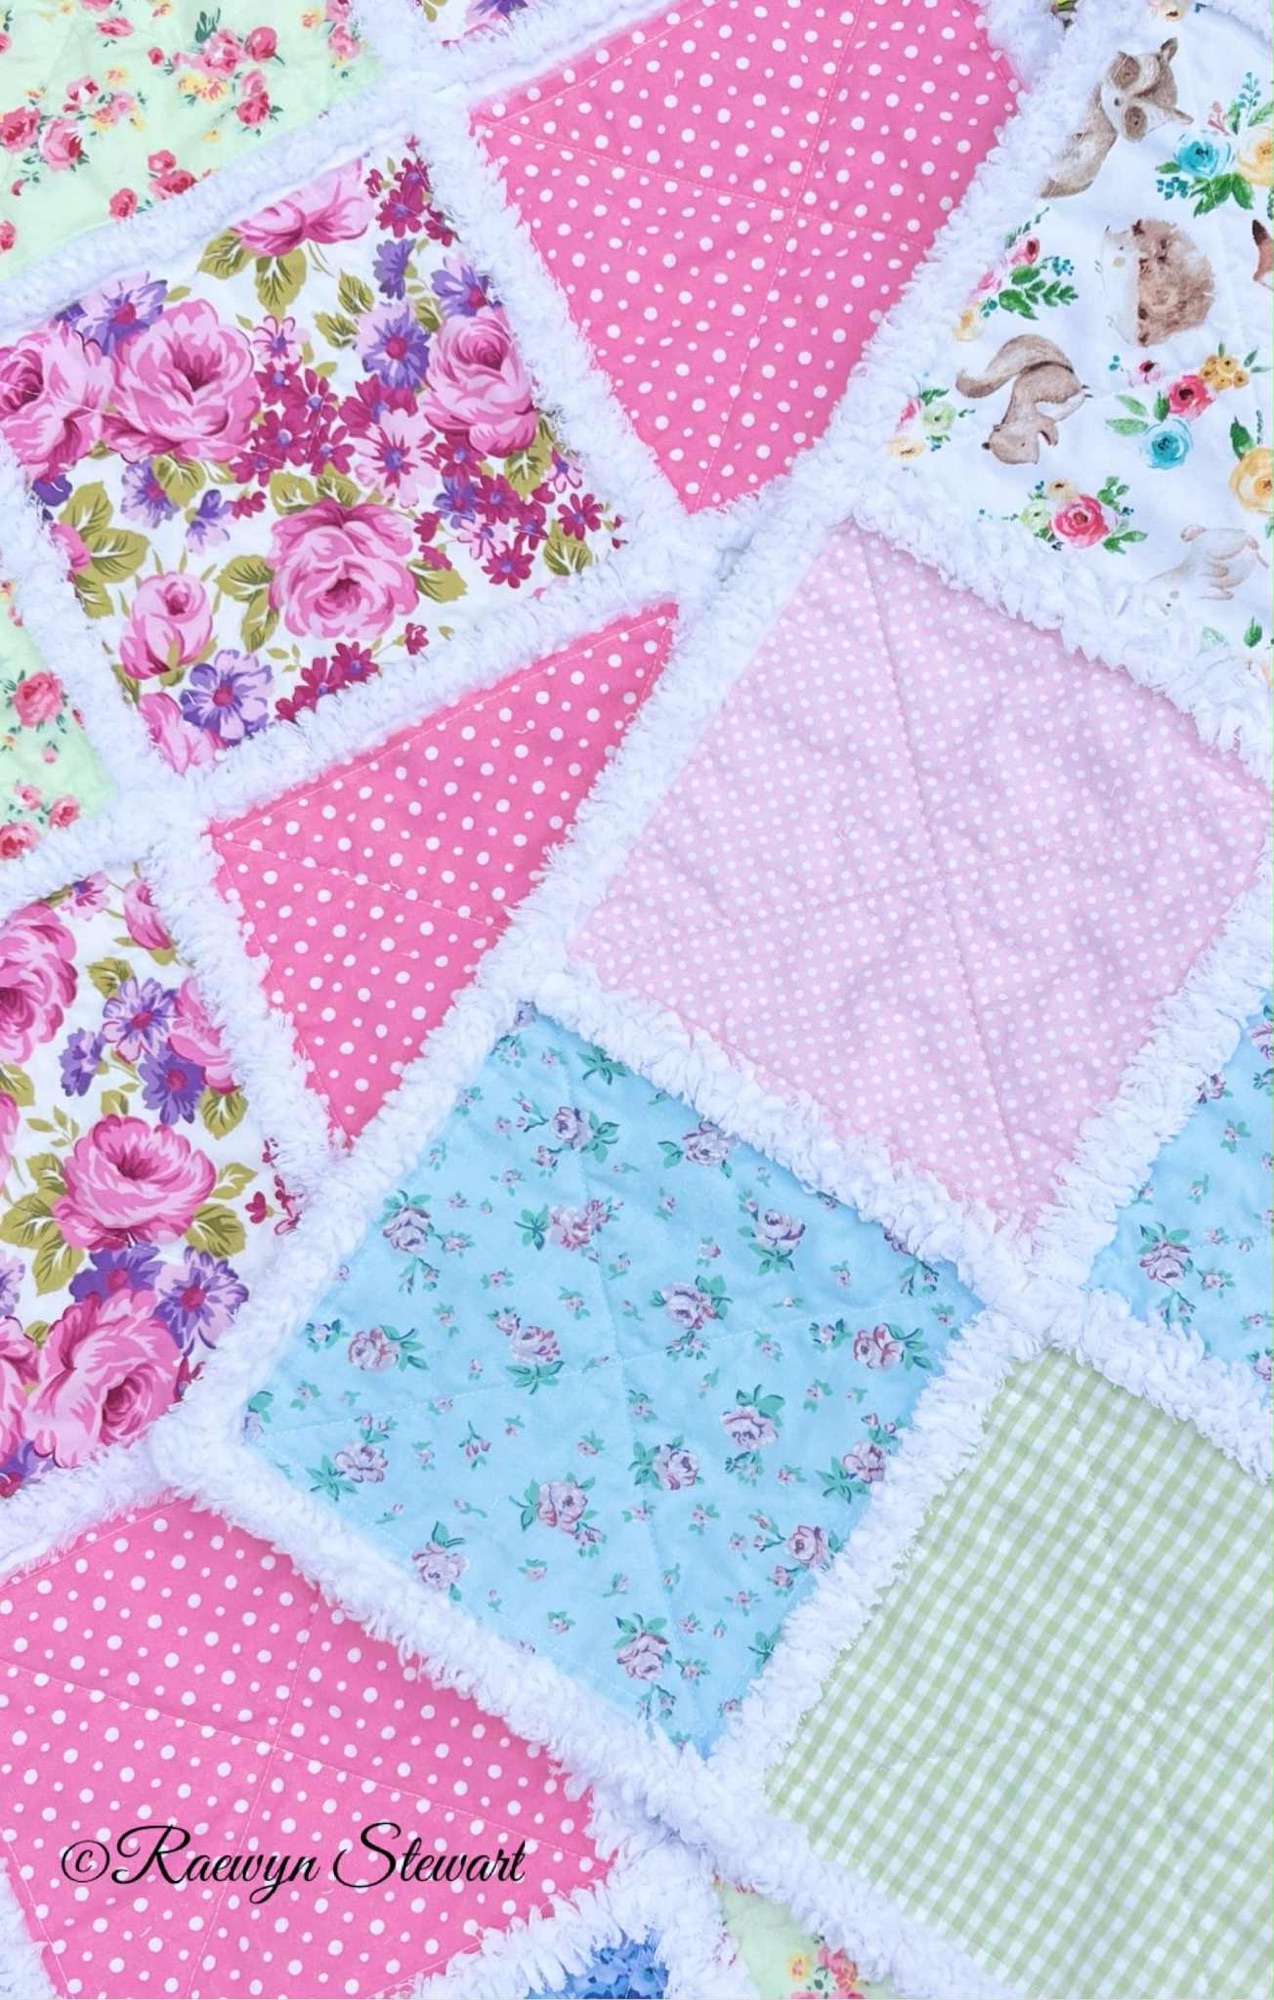
Double sided Rag Quilt Tutorial
by Raewyn Stewart ©

Finished Size: 28 × 36 inches
⚠️ Copyright Notice All content in this tutorial is copyright ©. Redistribution of these tutorials or techniques in any form — including in person, by post, email, screenshot, or online forum — is strictly prohibited. You may not copy, sell, disclose, or give away these tutorials/techniques, nor recreate them as your own.
Overview
The block sandwiches are created using my inlay method. This technique allows the decorative fabrics to sit neatly inside a contrasting frame of ragged seams. In this design I have used white as the framing colour.
Each sandwich is made in two parts, a front and a back. An inlay is stitched onto each part, and the two parts are placed flannel to flannel and then pinned securely and sewn with an X to hold everything in place.
After all blocks are completed, they are sewn together to form rows. Once the rows are assembled, the rows are then joined to create the full quilt. The key difference in this design is the method used to join the blocks and the rows. This joining technique is what creates the true double sided ragged effect, with exposed seams on both sides rather than only one.
This method produces a rag quilt that is fully reversible, beautifully textured, and consistent in appearance on both the front and the back. Read on…
Fabric Required
Quilters cotton or muslin: 2 yards (1.9 metres)
Flannel or flannelette: 2 yards (1.9 metres)
Five designs: each piece measuring 8 inches (20 cm)
These amounts allow for prewash shrinkage.
Cutting Instructions
Starting with a straight edge and rotary cutter with mat (or scissors), cut the cotton and flannel into 8-inch-wide strips.
From these strips, cut 8-inch squares.
You will need:
40 squares (8″) of white Quilters cotton or muslin
40 squares (8″) of white flannel — or 20 squares (8″) if using a single layer.
5 squares (6.5″) of woven cotton in 8 different prints (total: 40 squares)
Poly-cotton may be used for the inlays. Adjust pressing temperature accordingly.

Notions & Tools
Sewing machine
Rotary cutter, ruler, and mat
Pins and optional clips
Chalk or pencil
Scissors and snips (I use Heritage VP7 ragging snips)
Iron and ironing board
Thread (I use Gutermann 100% polyester)

Preparing the Squares
Iron the quilters cotton and woven cotton prints diagonally to form a triangle, then fold in half again to create a smaller triangle.
Making the Sandwiches (Video 1)
Each rag quilt sandwich is assembled in two parts. Part one forms the front, and part two forms the back.
Each part consists of three layers: flannel, quilters cotton, and an inlay. Stack the layers in this order: bottom layer is flannel, middle layer is quilters cotton, and top layer is the inlay. Make sure the edges of the larger layers align neatly, and use the pressed creases to centre the inlay accurately on the middle layer. Pin securely. (Photo above)
If you are omitting one layer of flannel, include it in only one of the two parts.
Once I finish sewing the fronts, I like to spread them out on the floor or bed to check the layout. I do the same with the backs. Labeling each piece with its position in the quilt is very helpful. For example, I mark the front and back of the first block with the number 1. I also take a photo for two reasons. It keeps me from relying on my memory, and it often reveals details that the eye might miss.
Sew the inlays to each section using a ¼-inch seam. Recommended stitch length: 2.5 (or 2.0 for loose-weave fabrics). (Video 2)
Place the two parts together with the wrong sides facing each other, which in this case is flannel to flannel. Pin all four sides securely, then stitch diagonally along the pressed creases to create an X through the block.
If you notice any bunching or puckering during this step, try using a walking foot or increasing your stitch length to 3.0. Fabric sewn on the diagonal can stretch slightly, but you can minimise this by sewing slowly, using plenty of pins, lengthening the stitch, and avoiding any pulling or tugging on the block as you sew.
Repeat this process until all 20 blocks are completed.(Video 3)
Repeat until all 20 squares are complete.
Sewing the Sandwiches Together (Video 4)
Lay out the first row of quilt sandwiches with the right side facing up.
Because each block now contains four unsecured layers, it is easy for the edges to shift. To keep everything aligned, pin the edges in several places, keeping the pins at least 1 inch away from the stitching line.
Pick up the right edge of the first block and lay it over the left edge of the second block to overlap by 1 inch.
Mark a line ½ inch from the edge of the top sandwich, pin to secure, and stitch along the marked ½ inch line. Continue overlapping and stitching each sandwich until the entire row is assembled.
Take a moment to check your seams. Did the layers stay aligned? Is the seam width consistent? This is a good time to use a seam ripper and redo any areas that need attention.
Using this overlap method allows you to create a true 1⁄2 inch ragged seam on both sides of the quilt. Because the blocks are layered and joined with the overlap rather than placed wrong sides together, the raw edges remain visible on each side. This is what produces the fully reversible ragged effect, with identical seam width and texture front and back.
Note: For ½ inch seams, overlap by 1 inch. For ⅝ inch seams, overlap by 1.25 inches.
Snipping the Seams (Video 5)
Snip at 1/8 intervals (wider if you prefer) along the seam. It is IMPORTANT to leave 5/8 UNSNIPPED at the beginning and end of each seam.
Don’t forget to snip the seams on the other side.
Sewing the Rows Together (Video 6)
Sew the rows together using the same method you used for joining the individual sandwiches. Overlap each row by 1 inch and stitch at 1⁄2 inch. At every seam intersection, I like to reverse back over the join to add extra strength and durability, especially since these points experience the most stress during use and washing.
Snipping Row Seams
Snip along the row seams at intervals of about 1⁄8 inch. You may choose wider spacing if you prefer a looser ragged look. Leave the final 5⁄8 inch at each end of the seam un-snipped.
As you begin clipping through the intersections, you will see why it is important to leave that 5⁄8 inch un-snipped at the end of each block seam. If you were to cut all the way to the end, you would clip directly into the block seams beneath, which would weaken those joins and remove much of the ragging you worked to create.
Keeping that small uncut section protects the structural seams, preserves the full rag effect, and helps ensure the quilt remains strong through repeated washing and use.

Finishing Options
Traditional Ragged Edge
I’ve used additional ragging strips to give the perimeter more body on this rag quilt, although this step is completely optional. If you prefer a traditional snipped edge without the extra strips, simply sew around the entire quilt 1⁄2 inch in from the outer edge.
As you sew, gently open each seam as you reach it and backstitch over the intersections to add strength and prevent fraying beyond the stitching line.
Once the perimeter seam is complete, snip all the way around the edge at intervals of 1⁄8 to 1⁄4 inch, depending on how full you want the ragging to appear. Take care not to cut into the stitch line.
When the snipping is finished, wash the quilt in cold water with colour catchers on the longest cycle to help the ragging fluff up and to remove loose fibres. Tumble dry thoroughly to encourage the edges to soften and bloom. Repeat if needed.
Extra Ragged Edge

Add two strips of flannel, each 1 inch wide, around the entire perimeter of the quilt one edge at a time. The order you sew them on isn’t important. Place one strip underneath and the second strip on top so the edges are fully sandwiched.
Pin the layers securely to keep everything aligned, then stitch through all layers at a distance of ½ inch from the raw edge. Open each seam as you come to it, lay the strip over it and keep sewing. Backstitch at the end and trim off any excess strip. Take your time with this step, as these perimeter seams help stabilise the quilt.
After stitching, press the flannel strips outward so the raw edges are exposed. Using your ragging snips, make small snips into the seam allowance at intervals of about 1⁄8 to 1⁄4 inch. Be careful not to cut through the stitch line.
Gently trim the corner off diagonally as shown.

Washing & Drying
Wash the quilt in cold water on the longest cycle, using colour catchers if your fabrics may bleed. After washing, remove the quilt and give it a good shake to help loosen and separate the ragged edges. Tumble dry on a warm setting to encourage the seams to fluff and soften.
For an even fuller, more textured ragged look, you can repeat the washing and drying process one or more times.
Please join our Facebook group: Amy Rag Quilt Tutorial by Raewyn Stewart (using the date of your Etsy purchase as a reference)

IMPORTANT NOTE: Due to increased scammer activity, my videos are now hosted on a secure platform and monitored for any unusual behaviour. I reserve the right to revoke access for any profile suspected of sharing login details.
My Etsy customers are most welcome to contact me candlewickandroses@gmail.com with any questions regarding this tutorial. Thank you again for your support.
[/ultimatemember_restrict]